Part 4 - Enemy Sprites
Whew! We've been doing a lot of art, huh? Well, we're not out of the woods quite yet. In this chapter we'll be drawing Enemy sprites, which if you hadn't guessed are sprites that represent an enemy in battle. Don't worry though: they're a lot simpler than hero sprites, so this chapter should be a breeze.
By the End of This Section you Should...
- be able to draw enemy sprites using the sprite editor
Enemy Sprites[edit]
Enemy sprites, unlike hero sprites, are composed of only a single frame. Also unlike heroes, enemy sprites can be 3 different sizes: 34x34, 50x50, and 80x80. This lets us make some absolutely massive enemies, if we so choose. For this tutorial, however, we'll be drawing a simple, small enemy.
Drawing Hero Sprites[edit]
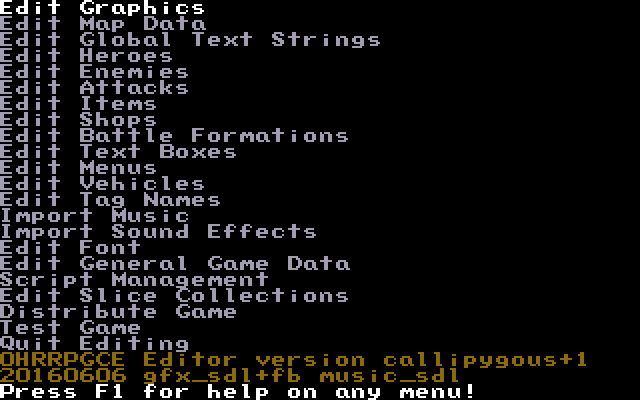
Fire up CUSTOM and load your project. Go back into the "Edit Graphics" menu.
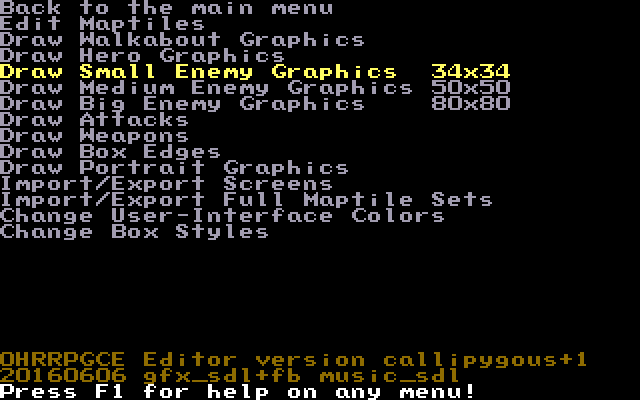
This time, go to the "Draw Small Enemy Graphics - 34x34" section.
Just like we did for our hero sprite, select the blank slot to begin editing.
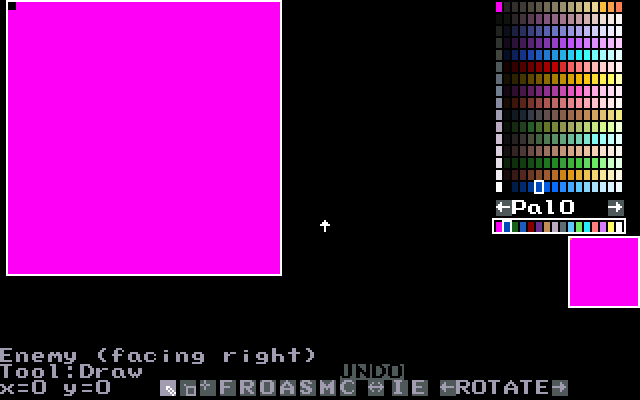
Notice the text near the bottom-left that says "facing right." Monsters face in the opposite direction of the hero, so be sure to draw them facing the right way! (You can always click the horizontal flip button if you forget, though).
We'll draw a simple slime enemy using one of the already defined palettes.
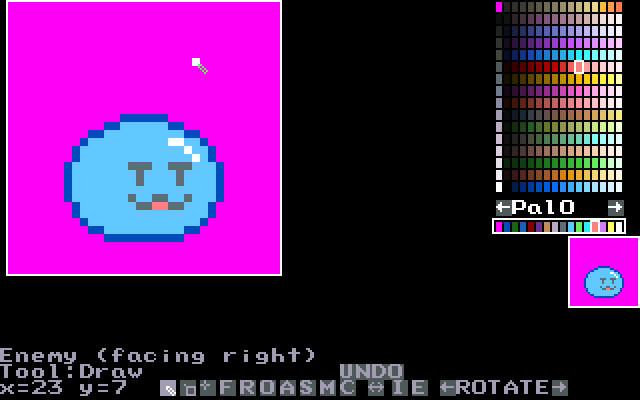
Awesome! That's all we really need to do. If you want to make a bigger enemy, simply use a bigger sprite size. In the next section, we'll be drawing attack and weapon sprites.
(Below is a download link for the project with all of the changes we've made)
Introduction | Getting Started | Artwork | Map Construction | NPCs | Tags | Making a Hero | Attacks | Items | Battles | Vehicle Use | Sound and Music | Text Boxes | Custom Menus | Slices | Plotscripting | Distributing a Game
Appendices: Keyboard Conventions | Sample Scripts

