Making Maptiles
Now, you should draw some graphics. You don't need to draw them all to begin with, you can make them as you go along, but you will need at least some graphics to start out.
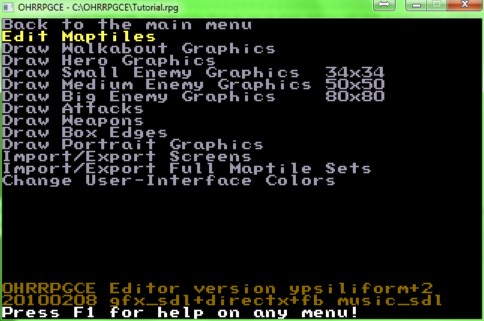
Go back to the main menu, and pick Edit Graphics. This will take you to the Graphics submenu.
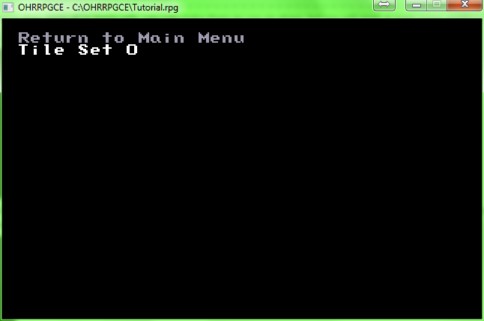
Pick Edit Maptiles from the graphics menu and then pick Tile Set 0. A tile set is a collection of 20*20 pictures that you will later piece together like a mosaic to create your maps. Each tile set is a page of 160 maptiles. You can use different tile sets for different maps.
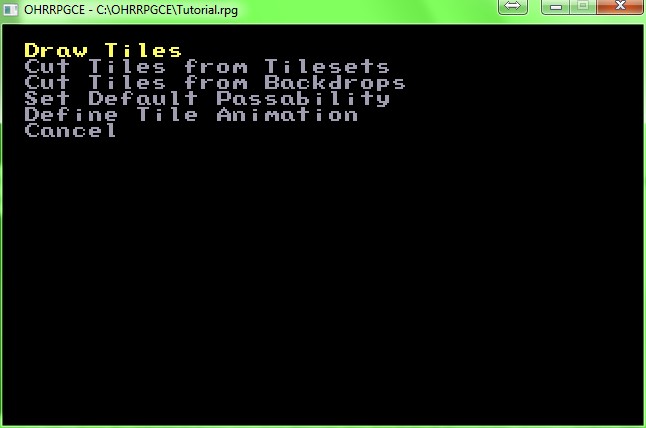
You can pick Draw Tiles , Cut Tiles from Tilesets or Cut Tiles from Backdrops to make new tiles. You can also Set Default Passability of tiles or Define Tile Animation. For now, just draw some tiles. Cutting tiles will be explained later.
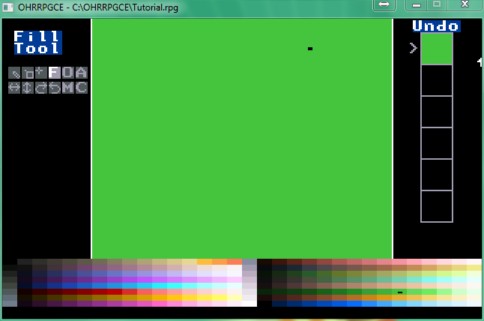
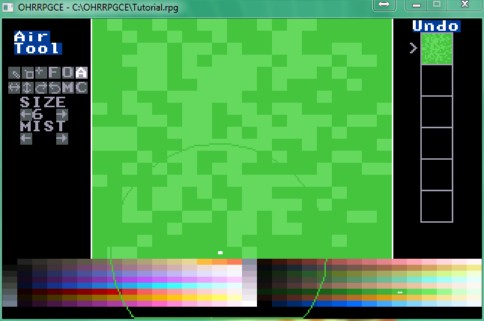
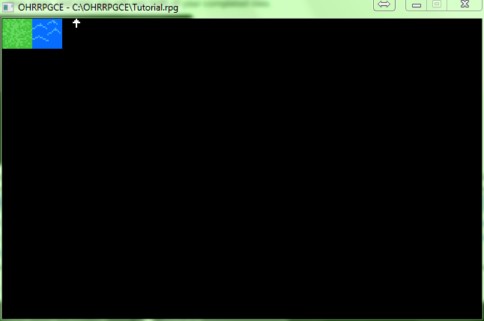
See that white box up in the corner? That is your cursor. The screen is divided up into 160 tiles. The first one (top left) is the default tile You will want this one to be grass, water, void, whatever you want the map to be full of before you edit it.

Use the arrow-keys or the mouse (yep! the mouse works in the graphics-making portions of the OHRRPGCE) to select the top-left tile.
Using first the "Fill" tool, and then the "Airbrush" tool, lets make some simple grass.
Here are all the controls for tile-drawing mode
- Arrow keys move your cursor
- SPACEBAR places a pixel, fills a area, or starts/finishes a line or box
- Hold ALT and press arrow keys to change your current drawing color
- period and comma also change drawing color
- ENTER or Right-Click matches the current drawing color with the pixel under the cursor
- D switches to the "Draw" tool
- B switches to the "Box" tool
- L switches to the "Line" tool
- F switches to the "Fill" tool
- S switches to the "Scroll" tool
- BACKSPACE flips the tile on the Y axis
- CTRL+BACKSPACE flips the tile on the X axis
- [ and ] brackets rotate the tile
- Press ESC when finished
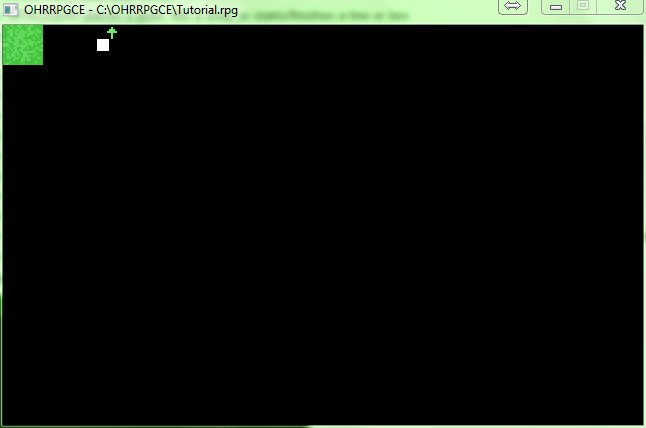
After you have drawn your tile press ESC. You will see your tile at normal size.
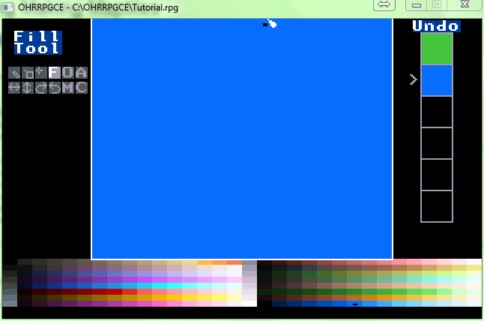
Now choose the second map tile (one space to the right of the one you just made)
Using first the fill tool, and then the line tool, lets make some simple water.
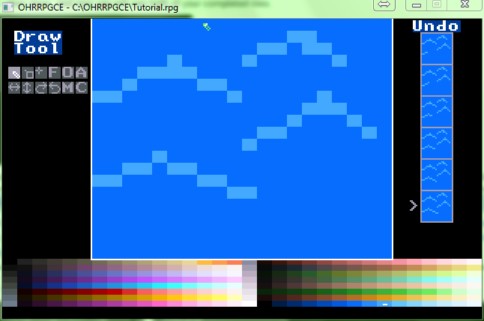
Press ESC when done, and now you will see both of your completed tiles.
You can copy tiles with CTRL+C and paste them opaquely with CTRL+V and transparently with CTRL+T. This will be helpful when you are working on better, more detailed maptiles.
Keyboard Shortcuts | Getting Started | Making Maptiles | Making Walkabout Graphics | Importing BMP graphics | Moving on to Map Construction (Using Map Layers) | Making a Hero | Battles | How to use NPCs and Tags | Adding, Removing, Swapping, Heroes | Animating Maptiles | Vehicle Use | Stun, Regen, Poison, and Mute | Sound Effects | Everything You Ever Wanted to Know About Text Boxes, But Were Afraid To Ask (Portrait Boxes) | Distributing a Game
Bosses | Making Complex Attacks | Combat Dialogues | Enemies that respond to a certain attack | Ways to refer to a hero in a script | Creating Dungeons | Permanent Stat-Boosters | Conditional Door Links | Creating Cutscenes | Using the Mouse in the Game | Making Android games