Installation on Windows
See also: Installation on Mac OS X
-
Get the OHRRPGCE from the Downloads page, or get it here: http://HamsterRepublic.com/dl/ohrrpgce-win-installer.exe
Save it to your hard drive, and then run the installer.

-
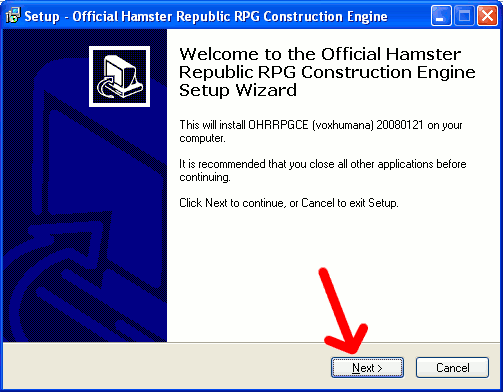
The installer will start up. Hit next to proceed with the installation.
-
The next screen shows the license agreement for the OHRRPGCE. Click on "I accept the agreement" and then hit Next again.

-
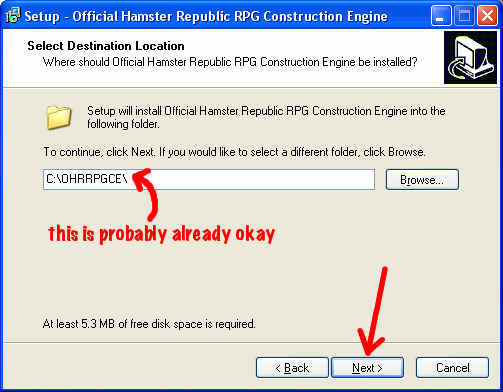
You can specify where you want the program to be installed. By default, it will install to the location shown below.
-
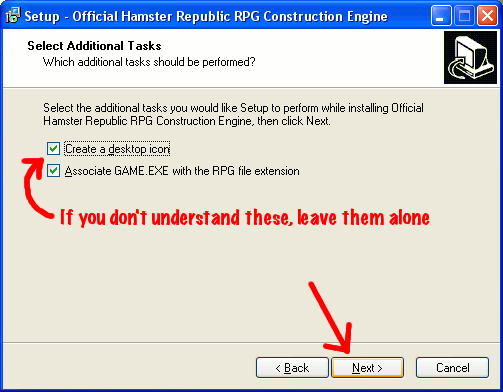
You can have the installer create a desktop icon (default). This means that on your desktop, an icon will be created that will run the program. You can also associate the .rpg extension with GAME.EXE allowing you to double click on .rpg files to run your games.
-
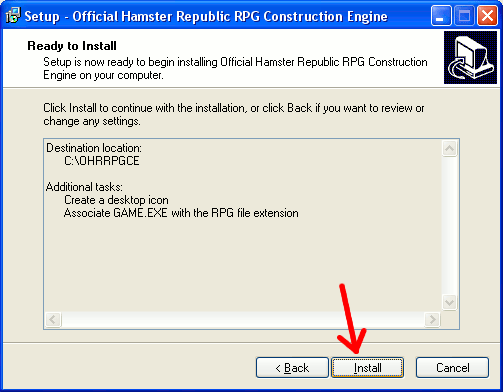
A screen will then be shown to confirm everything. If you're sure that everything is OK, click Install.
-
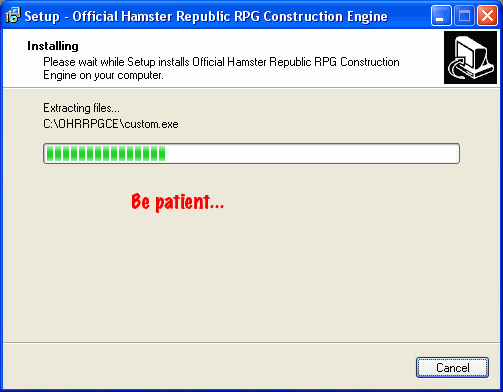
The OHRRPGCE will now install to your computer. As the image says below, be patient during the process as depending on your computer, it could take some time.
-
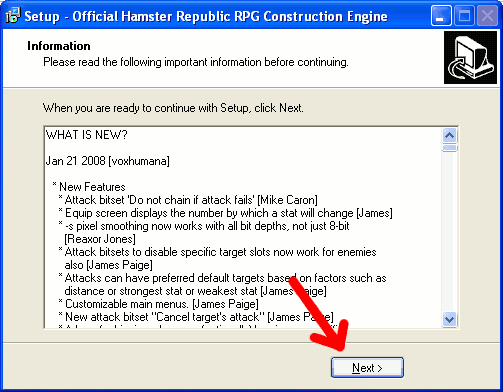
The next screen will show you what's new with the latest version that you've installed. Click Next to proceed.
-
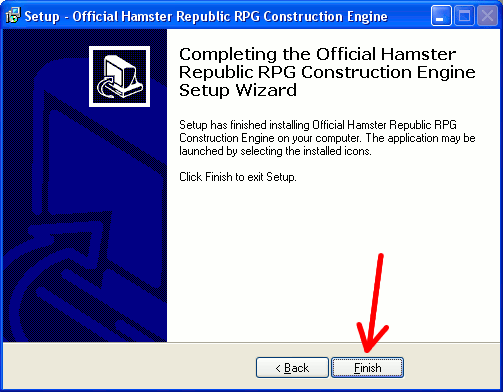
And that's it! You're done with the installation. Press Finish to exit the installer.
-
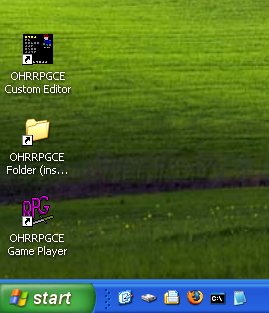
If all went well, you now have shortcuts on your desktop that will lead you to the editor, the main directory of the OHRRPGCE, and the game player.